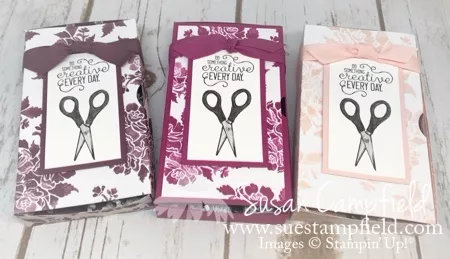
Do you need a gift for a crafter? I have a perfect solution! This adorable box has scissors on top….
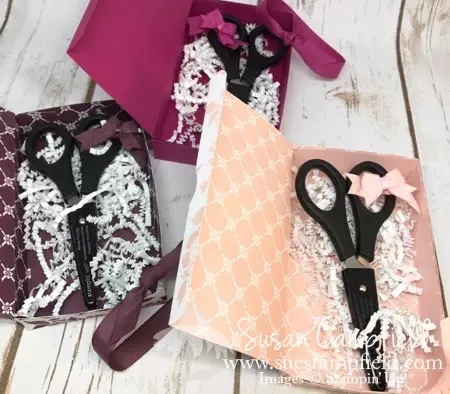
…and scissors inside! Paper Snips in fact. The best little crafting scissors ever! I have a video tutorial and a photo tutorial for you today, so let’s get started.
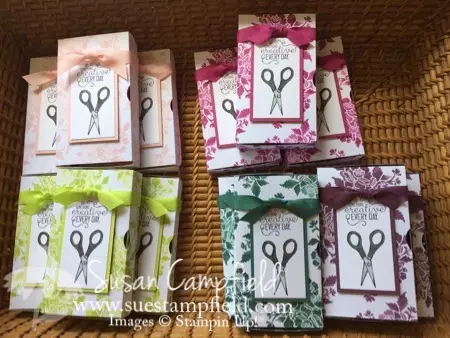
I made these boxes originally as a special gift for the leaders on my team who attended our Crafternoon Tea. I made the entire box out of Designer Series Paper (the Fresh Florals Paper Stack). I saved one of the Berry Burst boxes (my favorite new In Color) to use for my video demonstrator today, however, there was an unforeseen incident that caused me to have to remake the box and to make it sturdier then the original.
Meet my unforeseen circumstance, also known as Mercy, my 15 month old Whippet pup. Apparently the ribbon on the outside of the box proved irresistible and it was even more fun when she got inside and found the paper shreddie – wheeee!
So I made my NEW sample out of card stock (although I have no doubt that she could trash that in a heartbeat too). This box is more substantial and holds up to whatever you want to put inside it. The box design was inspired by Pootles Slender Box, I just changed the dimensions to make a box that fit the Paper Snips. You can see Pootles project here.
Here is my Facebook Live video or I have a photo tutorial below if you prefer.
Start with a piece of card stock (or Designer Paper) that is 7 1/4″ x 8 1/2″
On the LONG side, score at 1″, 4″, 5″, and 8″.
Rotate the paper, and on the SHORT side, score at 1″ and 6 1/4″.
One end will have a 1″ scored area or rectangle. The opposite end (the end nearest you in this photo) will have a 1/2″ scored area. Cut off the side panels on the end with the 1/2″ scored area. The 1/2″ area will form the flap on the top of the box.
Next cut the “tabs” that form the bottom of the box. Cutting a slender wedge from each side will make box assembly easier. Place Tear & Tape on each tab and assemble the box.
I used a 3/4″ Circle Punch to cut out a finger tip notch on the flap of the lid. Just fold down the flap, slide it in the punch, and punch on the fold through both layers. I used the Crafting Forever stamp set to stamp my greeting and the scissors. I added a rhinestone over the rivet area of the scissors after coloring them with the watercolor pencils and the blender pen.
I like to have a designated pair of “ribbon only” scissors in my craft room. I only use these on fabric so they stay sharp and are not dulled by paper and adhesives.
To designate these as “ribbon only” scissors, I tied a piece of Berry Burst 1/2″ Finely Woven Ribbon to the handle. Then I used a hot glue gun to attach a Berry Burst In Color Bitty Bow to the knot of the 1/2″ tied ribbon.
Thank you for joining me today for post #19!
CLICK HERE TO PLACE YOUR ORDER in my online store 24-7 or click any of the pictures below to go directly to that specific item online. When I use stamp sets for a project I give you both the wood and clear mount options – that way you and pick your favorite!




I’m confused. In the video I thought I heard you say to use a 3/4″ punch. In your supplies you used you list a 1 3/4″ circle punch. Which one is it. I love your dog and your project. TFS!
Thanks so much for catching that Gloria! The video is correct – the 3/4″ punch is the one I used! Thanks for letting me know – I will make the correction in the post!