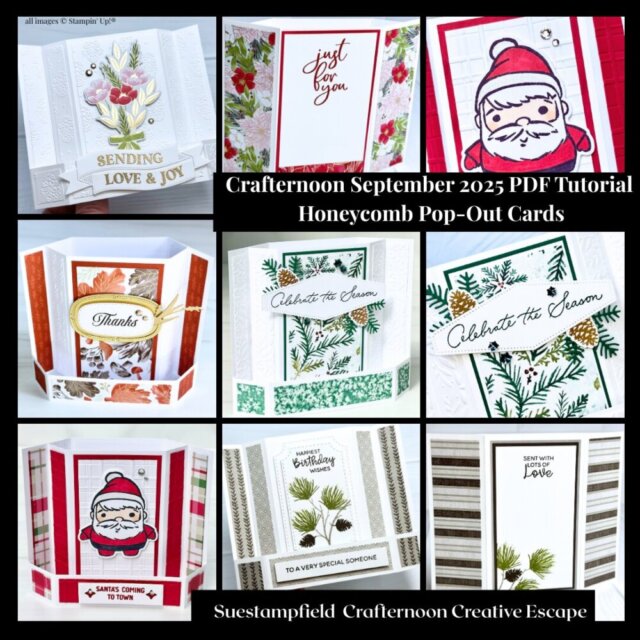
This Honeycomb Pop-Out Fun Fold Card features a unique six-sided pop-out design and five beautiful variations to inspire your creativity.
I call this design the Honeycomb Pop-Out Card because of the six-sided pop-out section that expands like a honeycomb when the card is opened. A bridge-style base adds stability and creates a stage-like effect, making this fold perfect for displaying. It’s a fun fold that truly wows from every angle!
In this post, I’m sharing a free video tutorial on how to make the Honeycomb Pop-Out card base along with photos of five different designs! For the complete details, you can purchase my full PDF tutorial, which includes cutting and scoring measurements, step-by-step instructions, supply lists, and photos to guide you through every step.
As always, thank you for making and sending handmade cards — you truly are making the world a kinder place, one card at a time.

The Honeycomb Pop-Out Fun Fold takes on a whole new look with each theme—let’s look at the five versions up close!
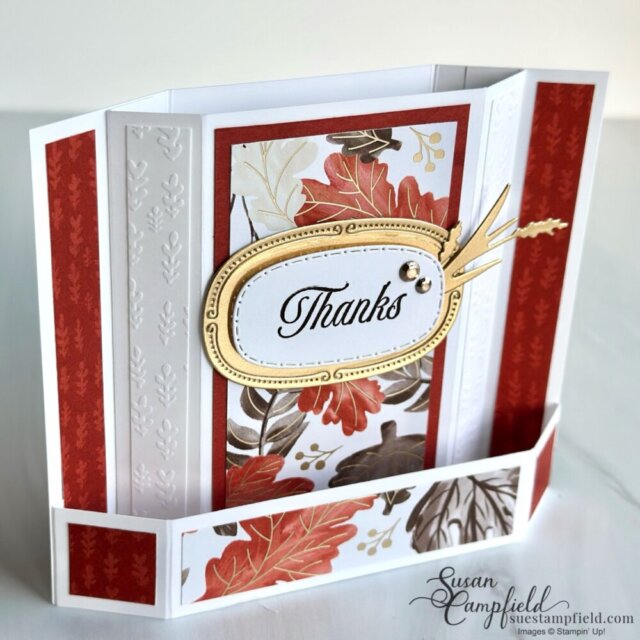
Gathering Together Honeycomb Pop-Out Card
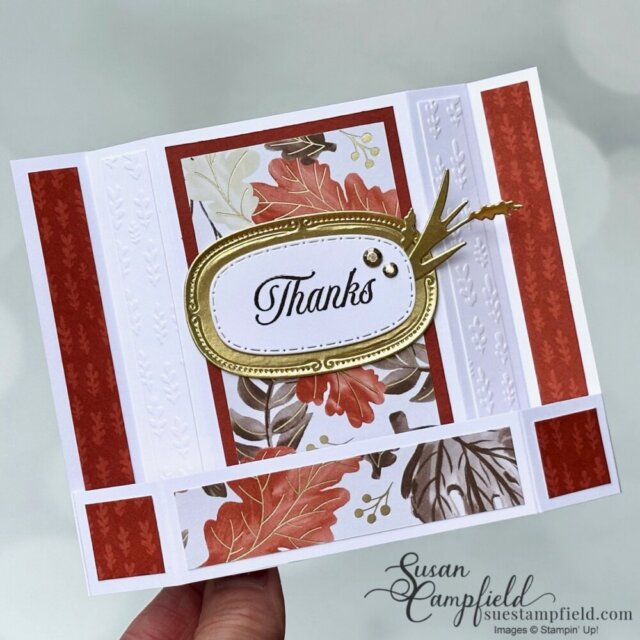
Customers who placed a $50 order in my online store during August received a packet in the mail to make this Honeycomb Pop-Out Fun Fold Card. This version features the Gathering Together Specialty Designer Series Paper, with its subtle plaids, delicate leaves, and champagne foil accents that shimmer beautifully in the light. Paired with the Gathering Leaves 3D Embossing Folder, the Amber Autumn Bundle, and Traditional Labels Dies, it brings all the cozy fall feels together in one card! If you’d like to try this fold yourself, the full PDF tutorial includes all the measurements and step-by-step photos so you can recreate this card, and all the other versions shown in this blog post.
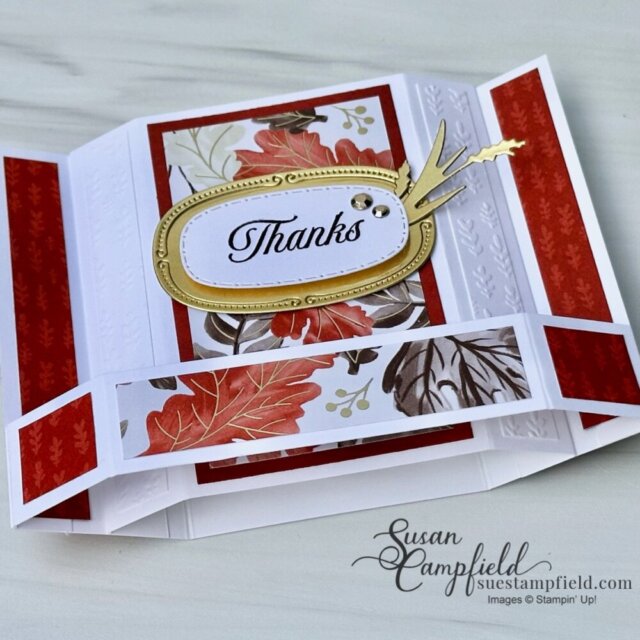
This view shows off the unique structure of the Honeycomb Pop-Out Fun Fold, with its six-sided pop-out center and sturdy base.
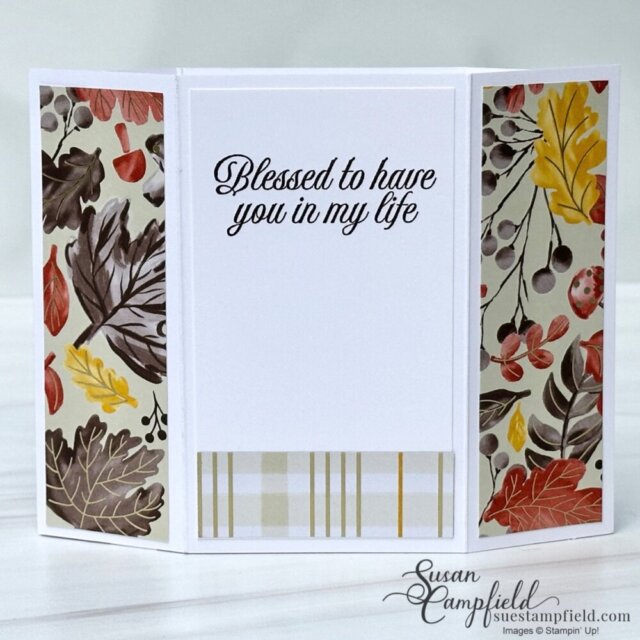
With this style of fun fold, the greeting goes on the back of the card—leaving the front as a display piece. By adding a few coordinating patterns from the Gathering Together DSP, the back feels just as elegant as the front!
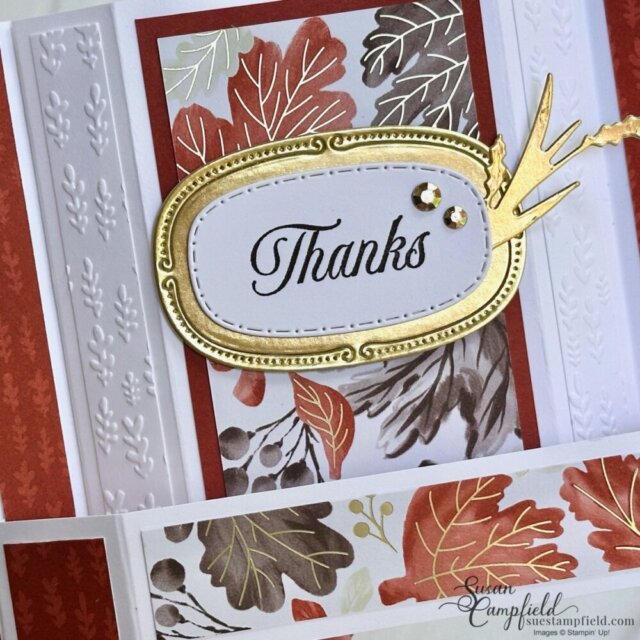
I love the almost vintage look that the pretty Traditional Labels dies have – and they pair beautifully with the elegant font from the Amber Autumn stamp set!
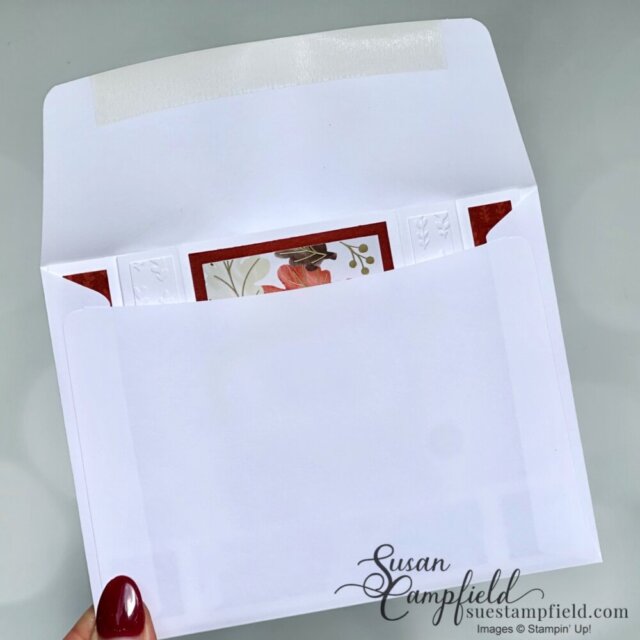

The card easily flattens to slide into a standard envelope. Finished size for all the Honeycomb Pop-Out cards is 4-1/4″ x 5-1/2″ and they all fit in a standard A2 Envelope.
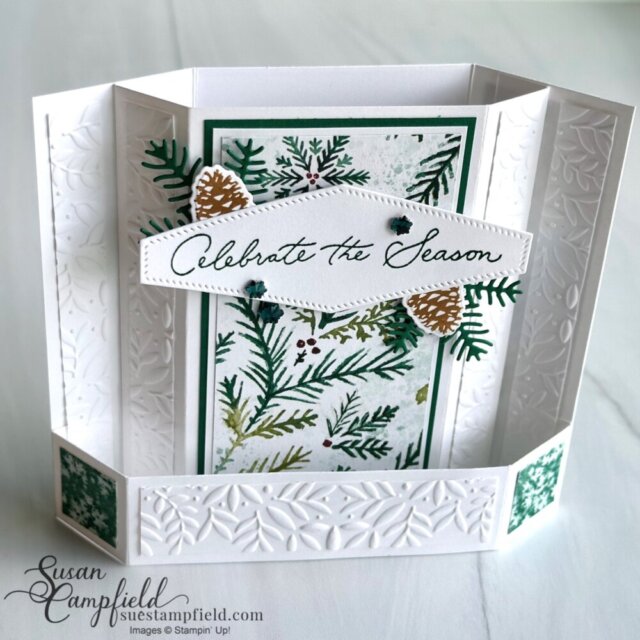
Elegant Pine Snowflakes Honeycomb Pop-Out Card
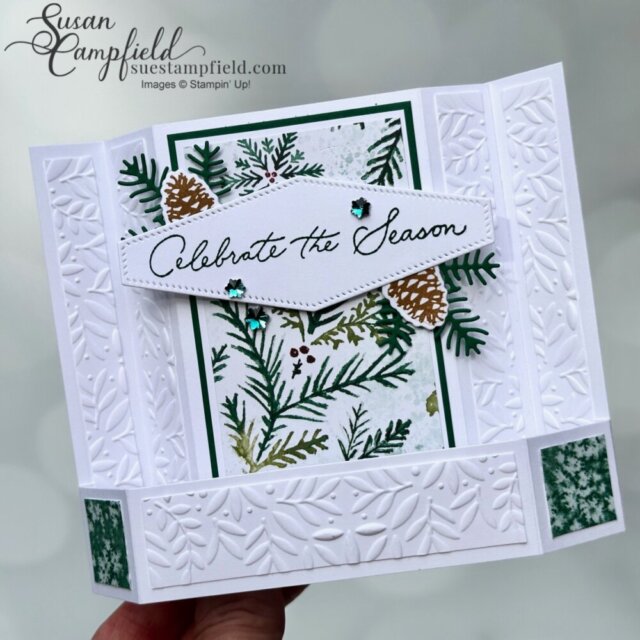
For this wintery Honeycomb Pop-Out card, I paired the Elegant Pine Snowflakes Designer Series Paper with the Delicate Pines Bundle – this card makes me think of walking in a snowy pine forest! The sentiment is stamped on a die cut from the Nested Essentials Dies, accented with pine boughs, pine cones, and shimmering Faceted Snowflakes gems. The background layers are embossed with the Peaceful Greenery 3D Embossing Folder, and the touch of Shaded Spruce cardstock and ink is the perfect color for this evergreen themed card!
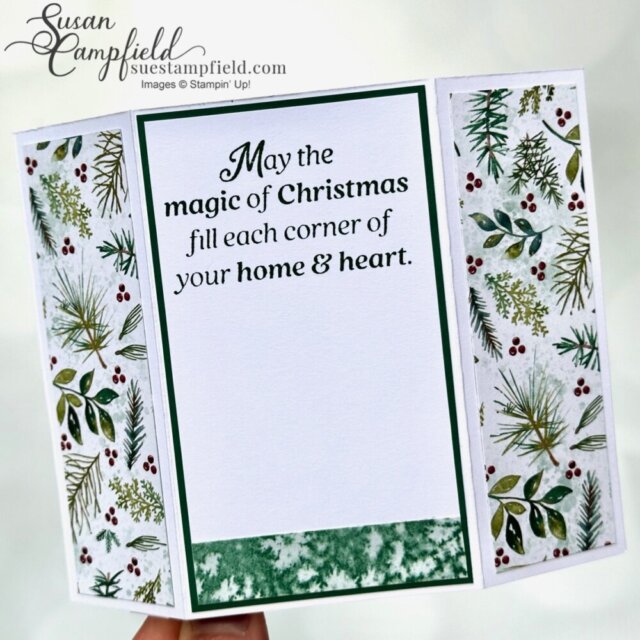
I decorated the back of the card with more of the beautiful Elegant Pine Snowflakes Designer Series Paper and added a sentiment from the Words For The Season stamp set.
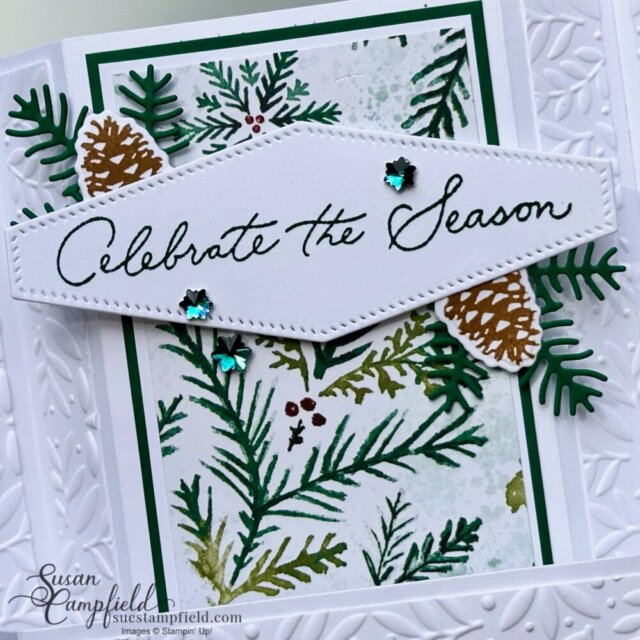
The pretty pinecones were stamped in Pecan Pie ink and die cut with the coordinating dies. I love how the Faceted Snowflake gems sparkle! I choose the Shaded Spruce gems for this card, but the pack also has Cherry Cobbler and Clear Faceted Snowflakes.
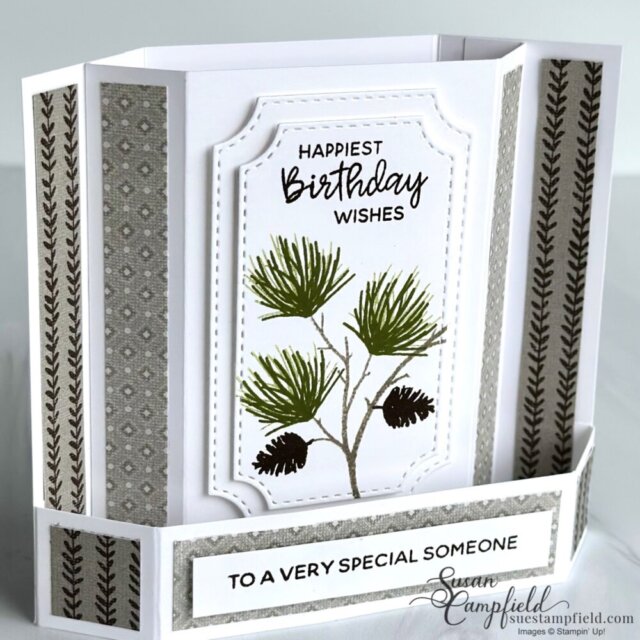
Are you ready to see more Honeycomb Pop-Out Cards? Here is a masculine birthday card with the Branching Out bundle!
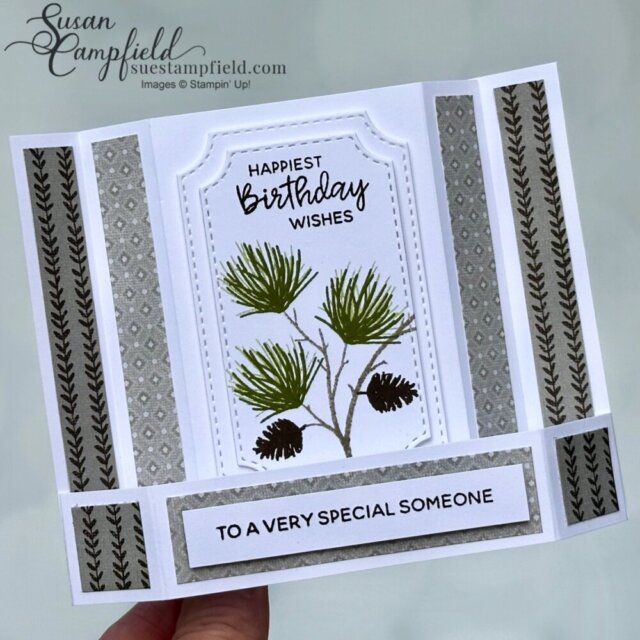
This Honeycomb Pop-Out design also works beautifully as a masculine card—here I used the Branching Out Bundle with Gray Granite, Old Olive, and Early Espresso inks. This amazing bundle comes with a whole set of versatile nesting label dies, I used the two smallest for this card. The pine branches and cones make it a perfect birthday card for the outdoorsy or nature-loving guys in your life—but it could just as easily work for seasonal cards or other occasions. The neutral “B side” patterns from the Autumn Toile Designer Series Paper are the perfect masculine accent.
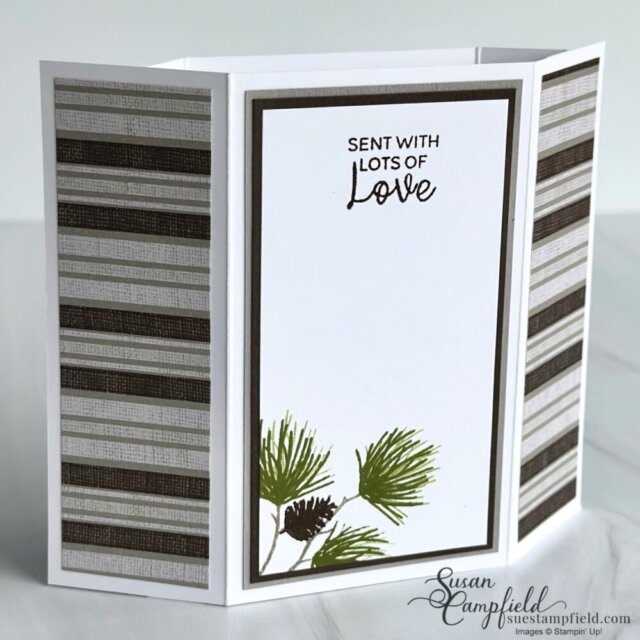
On the back of the card I added a few more pine needle clusters and another pinecone, along with the bold stripe pattern from the Autumn Toile Designer Series Paper.
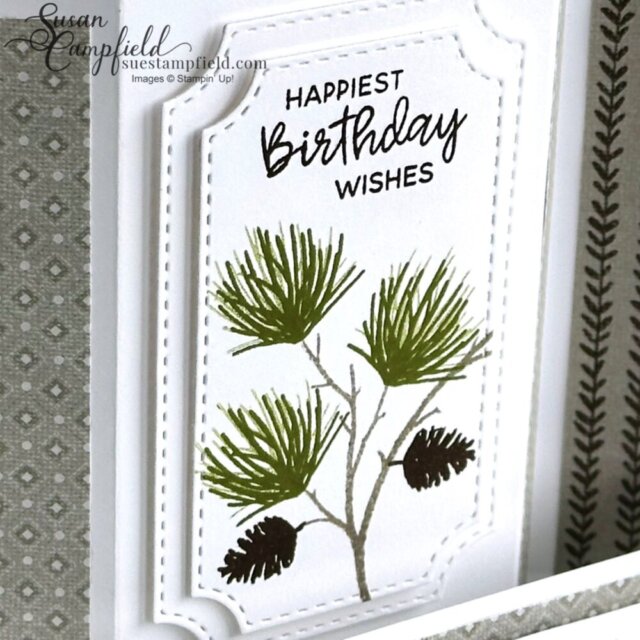
In this close-up photo, you can see that I stamped each pine needle cluster twice—slightly offset and without re-inking. This simple step fills out the branches, softens the look, and makes the pine needles appear fuller. It’s just one of the tips included in the Honeycomb Pop-Out Fun Fold Card Tutorial, where I walk you through every detail with step-by-step photos, measurements, and five different card designs.
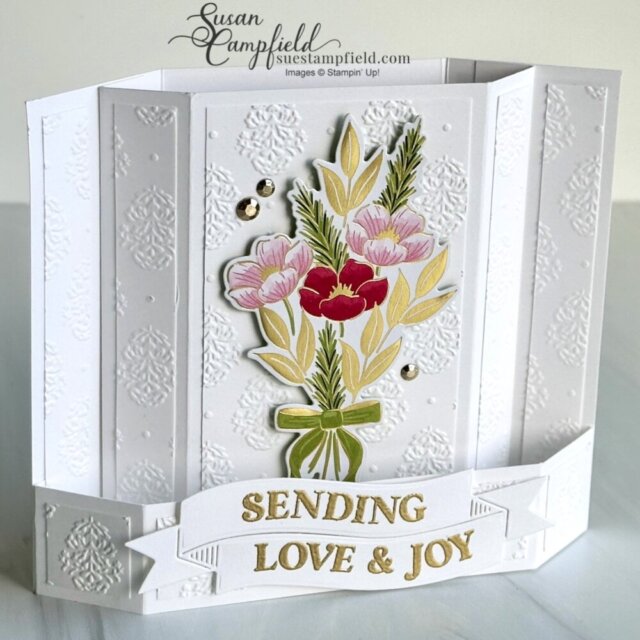
All-Occasion Traditions of Christmas Honeycomb Pop-Out Card
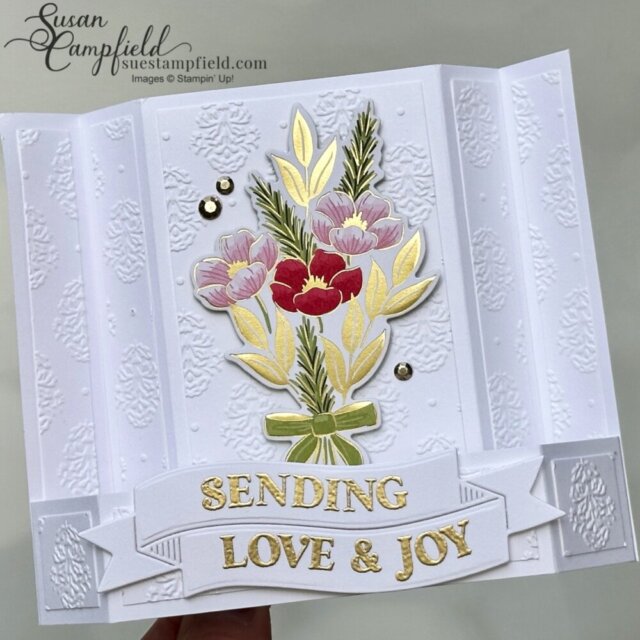
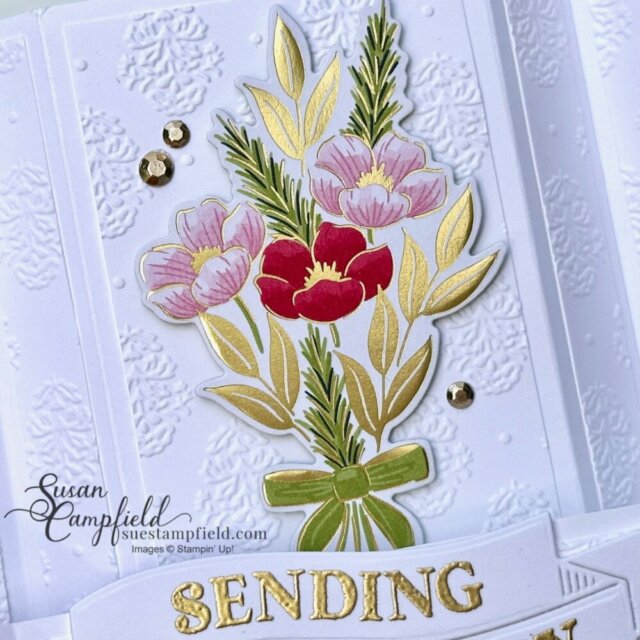
The Traditions of Christmas Suite proves that holiday products can go far beyond December! In this Honeycomb Pop-Out Fun Fold Card, the elegant florals and gold foil accents transform it into a design perfect for birthdays, anniversaries, or weddings. The Damask Designs Embossing Folder adds rich texture, while the Traditional Labels bundle creates the double ribbon banner and heat-embossed sentiment that really make this card shine. This version really shows how the Honeycomb Pop-Out design can adapt to any theme, and the tutorial makes it easy to recreate with your own favorite papers.
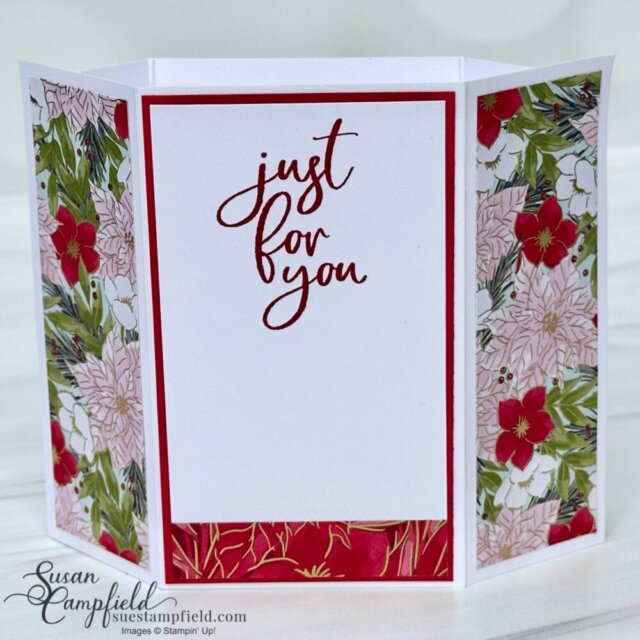
The backside of the cards uses some more of the beautiful Traditional Christmas Designer Series Paper with it’s lovely gold accents. The “Just for You” sentiment is also from the Traditional Labels bundle.
I love the gold accents in the pretty paper – it pairs beautifully with heat embossed images!
Festive Friends Honeycomb Pop-Out Card
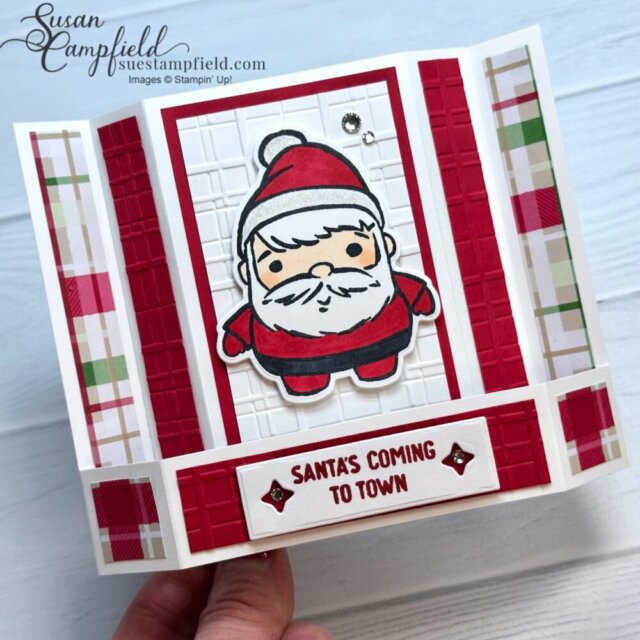
How adorable is this Santa from the Festive Friends Bundle?! Santa takes center stage of course, colored with Stampin’ Blends and set against a Forever Plaid 3D Embossed background that adds cozy texture. The Christmas Tags & More Designer Series Paper brings in festive plaids, while a touch of sparkle from Rhinestones and Wink of Stella on the hat trim finishes the look. This one is pure joy from the moment it comes out of the envelope!

The backside of the card has some more of the cute Christmas Tags & More Designer Series Paper and a happy Christmas message!
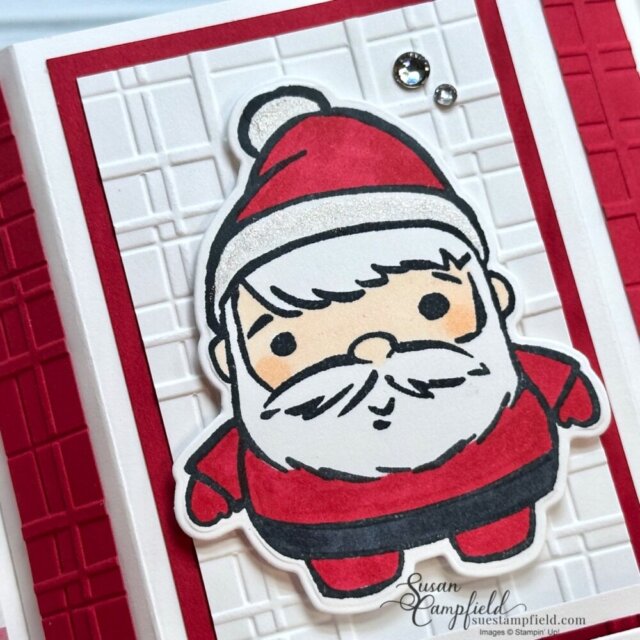
In this close up photo you can better see the Wink of Stella Glitter on the hat trim! So darn cute!!
What I love most about the Honeycomb Pop-Out Fun Fold is how versatile it is—this one fold works beautifully for autumn, masculine, whimsical, holiday, and elegant cards alike. Each version looks completely different, yet they all share that unique six-sided pop-out center and stage-style base. In the free video tutorial below, I share the basic card base dimensions and walk you through assembly. If you’d like the full cutting and scoring dimensions for all the decorative layers—along with my tips for success and step-by-step instructions for all five designs—you’ll find those in the complete PDF tutorial.
Would you like to create along with me in the next Crafternoon?
It’s easy to join the virtual monthly Crafternoon event – I hope you join us next month!
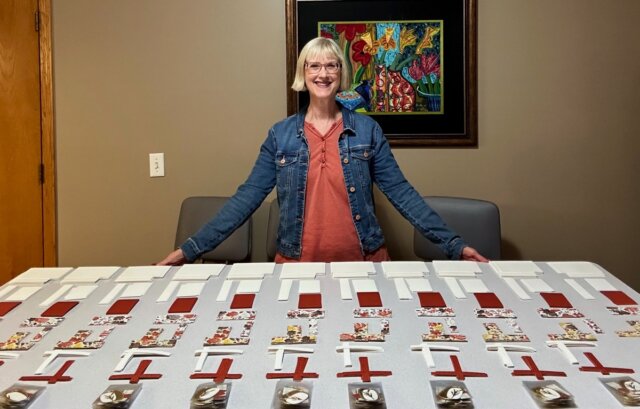
How to join the fun? When you place a $50 Stampin’ Up! product order with me (after rewards credits and before tax and shipping) you will receive a packet in the mail the following month for the next Crafternoon AND you will get the PDF tutorial for that month’s Crafternoon fun fold cards for free! The tutorial has all the card designs with dimensions, step-by-step instructions, photos, and the supplies for the projects. A whole lot of love always goes into each and every packet! ❤️ Unfortunately I am only able to accept Stampin’ Up! product orders from those who live in the United States. However anyone around the globe can purchase any of the Crafternoon tutorials – you can find them all HERE.
Video tutorial for the Honeycomb Pop-Out Card
In this video, I walk you through assembling the Honeycomb Pop-Out card. Details for all the designs are in the Honeycomb Pop-Out card digital PDF tutorial including all of the dimensions, supplies, instructions, and step-by-step photos. The digital tutorial can be downloaded and printed to refer to while you craft. Or you can save the tutorial to your device and look at it that way.
Details about the Honeycomb Pop-Out Card Tutorial for purchase are below!
Ready to make the Honeycomb Pop-Out cards? It is easy with this tutorial. You can purchase the Honeycomb Pop-Out Card Tutorial for $15 US. Print the tutorial or review it on your device after you download it. The tutorial will walk you through how to recreate this fun fold style, step-by-step with instructions for all of the versions.
I started Crafternoon in January of 2022 with a different unique fun fold every month. You can check out ALL 45 Crafternoon Fun Folds HERE.
NOTE: If you are a Stampin’ Up! demonstrator you are welcome to purchase these tutorials! If you would like to use these ideas to teach a class, instructing verbally is fine. However, please do NOT hand out, forward, replicate, or copy my written tutorials. If your customers wish to purchase the written tutorials please direct them to this blog post. Thank you for understanding!
Join the Crafternoon fun!
Thank you for letting me share this creative fun fold with you! I would love to send you a packet for next month’s Suestampfield Crafternoon Creative Escape. If you live in the United States, to qualify for a packet and tutorial, simply place a $50 order of Stampin’ Up! product (after rewards credits and before tax and shipping) in my online Stampin’ Up! store HERE. No host code required. Happy creating!


Loved watching the video for the honeycomb pop-out card! It came at the perfect time. I send out twenty cards to family and friends each month and I just couldn’t pick one for October. This one is perfect! I follow you as I’m from MN originally. Thanks for all you do for us all!
Mary, I’m so glad you enjoyed the video! And thank you for spreading kindness with your handmade cards, happy Creating! Suan
I don’t see the sizes to finish decorating the card??
Hi Lauretta, I share how the basics of how to make the Honeycomb Pop-Out card base in the free video tutorial. For the complete details for all the designs, you can purchase my full PDF tutorial, which includes cutting and scoring measurements, step-by-step instructions, supply lists, and photos to guide you through every step.
Happy Creating! Susan
Sue I can’t find the written tutorial for the honeycomb card. I received the supplies as I I purchased from you the month before but now I’m trying to find the written tutorials.
Hi Jo Ann! I’m sorry you could not locate the email with the tutorial. I have resent it to you – happy creating!